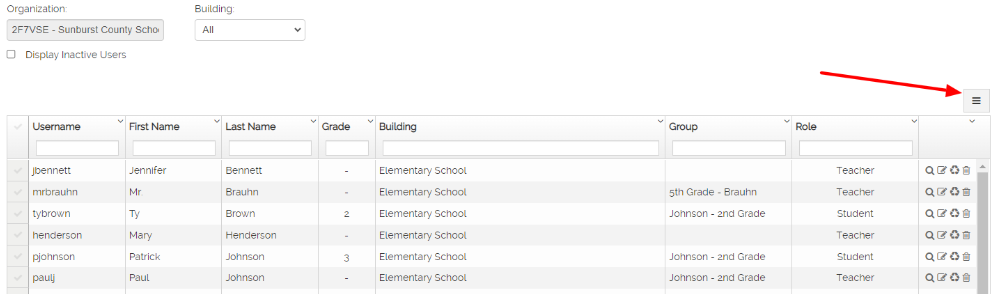
To save an Excel file of all the Users in your account, start by clicking the Report Options button in the top-right of the Users table. You have the option to select “Export all data as CSV”, “Export visible data as CSV”, or “Export selected data as CSV”.
Important Note: The user ID and group ID are never saved to the spreadsheet for a User. Also, unless excluded from the report, the password column will be included in the spreadsheet, however, it will be empty. You cannot see a user’s password once it is saved to the database (either can we).
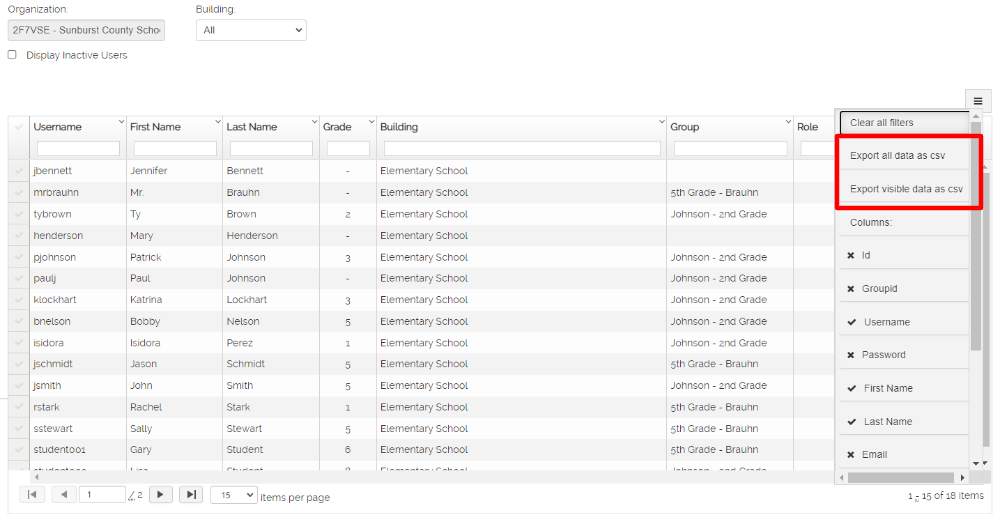
Export All Data
Exporting “All Data” will always include all possible columns in the spreadsheet, even those columns that are not visible in the table. By default, the spreadsheet will contain all rows (even if they are not all visible on one page of the table), however, if you filter the Users table, such as putting a three in the Grade field, the “Export All” action will only include the filtered data – in this case, only those Users that have a Grade of three.
Export Visible Data
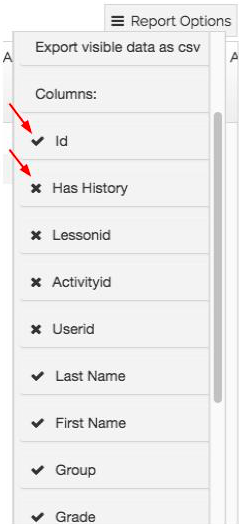
Exporting “Visible Data” will only include in the spreadsheet the columns visible in the table. Visible columns have a ✔ before their column title in the Report Options menu while excluded columns have a ✖ next to their name.
In addition, only the visible rows are exported to the spreadsheet. This includes only the rows visible on the current page of results and/or if you have filtered the table by grade, name, role, etc.
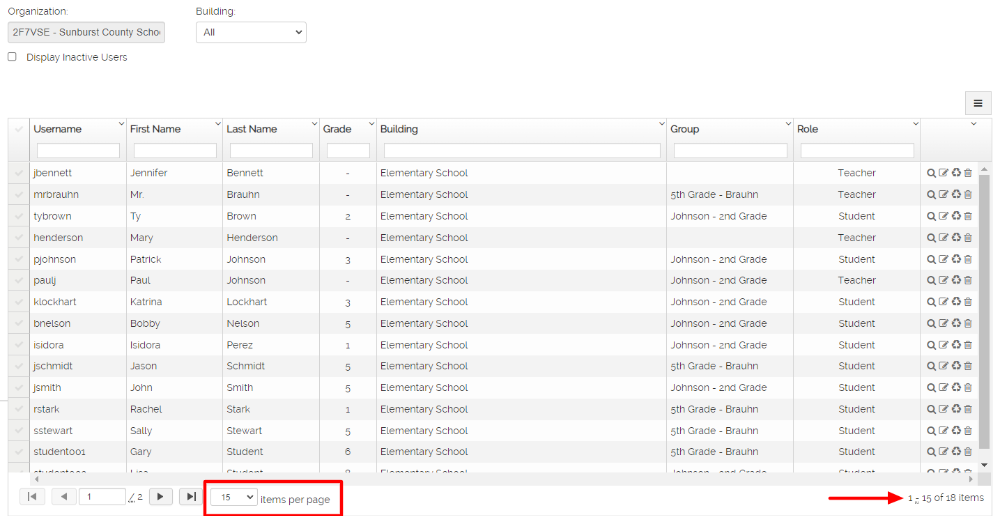
The default number of results on a page is 15. If you have more than 15 Users, there will be multiple pages in the table of results. You can change the number of items per page using the dropdown under the table. The dropdown options are 15, 50, 100, and 250.
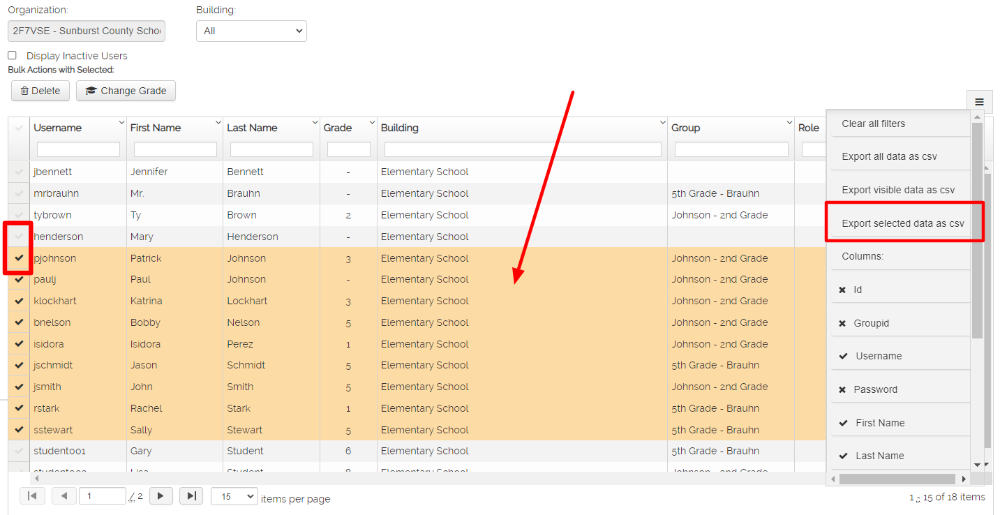
Export Selected Data
Exporting “Selected Data” will export only the rows that are selected in orange. You can select one or more rows by clicking the check marks on the far left of the table. If you click the check mark in the top-left of the table, next to “Username”, you will select all visible rows.