Creating Custom Content from the Custom Content Library Tab
- Click the “Create new Content” button.
- Option to share the content you create with your entire organization by checking the “Share with my Organization” box.
- Give content a title and label with grade(s) and subject(s).
- Write a brief introduction; which will allow you to give instructions or describe the purpose of the content to your students.
- Type or copy/paste the actual content your students will type.
- Create your content by clicking on the “Create” button.
- Now you can view your created content in the “Custom Content Library” Tab or move to the “Assign Custom Content” tab to assign the content you just created.
Step by Step on how to create Custom Content with Visuals
Click the “Create new Content” button. 
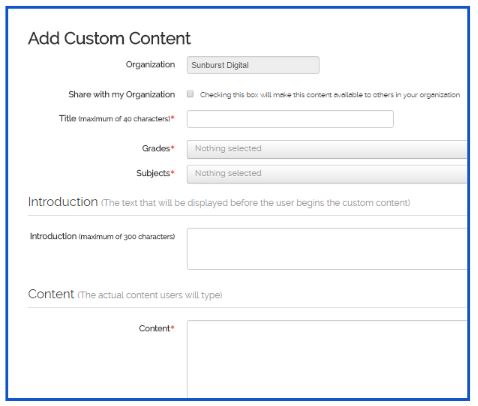
Option to share the content you create with your entire organization by checking the “Share with my Organization” box.

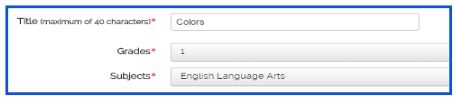
Give content a title and label with grade(s) and subject(s).
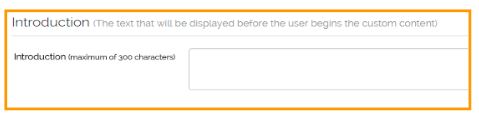
Write a brief introduction; which will allow you to give instructions or describe the purpose of the content to your students.
Type or copy/paste the actual content your students will type.
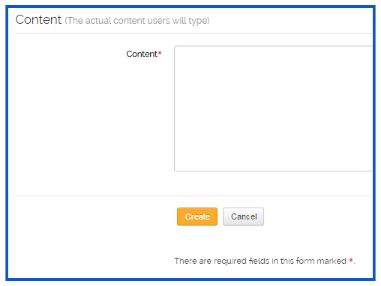
Create your content by clicking on the “Create” button.
Now you can view your created content in the “Custom Content Library” Tab or move to the “Assign Custom Content” tab to assign the content you just created.


